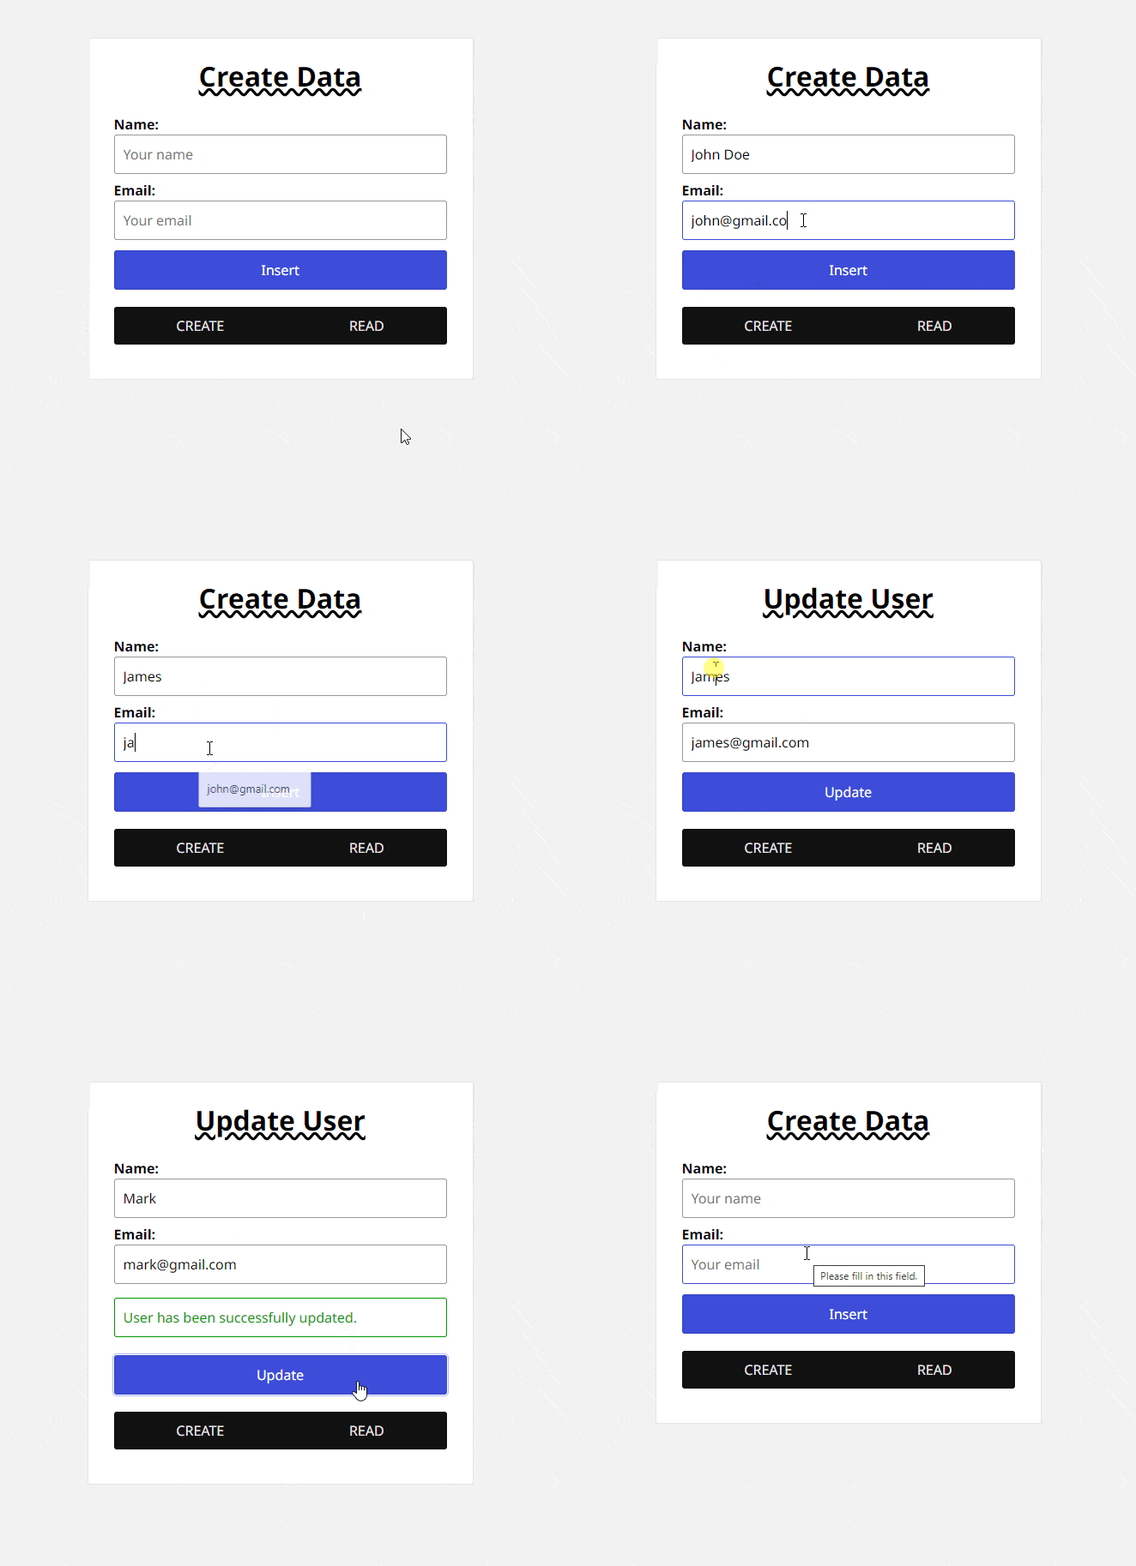
How to Build a PHP CRUD Application with MySQL
CRUD applications are essential in web development for managing database data. In this tutorial, you’ll learn how to build a basic CRUD (Create, Read, Update, Delete) application using PHP and a MySQL database. We’ll use PHP MySQLi OOP for database interaction, and also provide alternative versions using MySQLi and PDO. Let’s get started!
Prerequisites:
- PHP (installed on your local server)
- MySQL (using phpMyAdmin or any MySQL client)
- Basic knowledge of PHP and MySQL
Step 1: Set Up the Database
First, create a MySQL database and table to store user information.
- Database Name:
crud - Table Name:
users
You can create the database and table using the following SQL:
CREATE DATABASE crud;

USE crud;

CREATE TABLE `users` (
  `id` int(11) NOT NULL AUTO_INCREMENT,
  `name` varchar(50) NOT NULL,
  `email` varchar(50) NOT NULL,
  PRIMARY KEY (`id`),
  UNIQUE KEY `email` (`email`)
) ENGINE=InnoDB DEFAULT CHARSET=utf8mb4 COLLATE=utf8mb4_unicode_ci;
Step 2: Set Up the Project Directory
- Navigate to your local server’s root directory (usually
htdocsorwww). - Create a new folder for your project (e.g.,
php-crud-app).
Inside the php-crud-app folder, create the following files:
php-crud-app/
├── db_connection.php        # Database connection file
├── nav-links.php            # Navigation links for pages
├── create.php               # Create user form and functionality
├── read.php                 # Read and display users
├── update.php               # Update user information
├── delete.php               # Delete user from the database
└── style.css                # CSS styles for the application
Step 3: Database Connection (db_connection.php)
In db_connection.php, set up a connection to the MySQL database using MySQLi.
<?php
// Database configuration
$db_host = "localhost";
$db_user = "root";
$db_pass = "";
$db_name = "crud";

// Create connection
$connection = new mysqli($db_host, $db_user, $db_pass, $db_name);

// Check connection
if ($connection->connect_errno) {
    die("Connection failed: " . $connection->connect_error);
}
?>
Step 4: Navigation Links (nav-links.php)
Create a simple navigation menu for your CRUD application. This will be included in each page.
<li><a href="create.php">Create</a></li>
<li><a href="read.php">Read</a></li>
Step 5: Create a User (create.php)
In create.php, create a form to insert new users into the database.
<?php
require 'db_connection.php';

function insertData($name, $email) {
    global $connection;
    $name = htmlspecialchars(trim($name));
    $email = htmlspecialchars(trim($email));

    if (empty($name) || empty($email)) {
        return "Please fill in all fields.";
    }

    if (!filter_var($email, FILTER_VALIDATE_EMAIL)) {
        return "Invalid email format.";
    }

    $checkEmail = $connection->prepare("SELECT email FROM users WHERE email = ?");
    $checkEmail->bind_param("s", $email);
    $checkEmail->execute();
    $checkEmail->store_result();

    if ($checkEmail->num_rows > 0) {
        return "This email is already registered.";
    }

    $query = $connection->prepare("INSERT INTO users (name, email) VALUES (?, ?)");
    $query->bind_param("ss", $name, $email);

    if ($query->execute()) {
        return "User successfully added.";
    } else {
        return "Error adding user.";
    }
}

if ($_SERVER['REQUEST_METHOD'] === 'POST') {
    $message = insertData($_POST['name'], $_POST['email']);
}
?>

<!DOCTYPE html>
<html lang="en">
<head>
    <meta charset="UTF-8">
    <meta http-equiv="X-UA-Compatible" content="IE=edge">
    <meta name="viewport" content="width=device-width, initial-scale=1.0">
    <title>Create User</title>
    <link rel="stylesheet" href="style.css">
</head>
<body>
    <main class="container">
        <h1>Create User</h1>
        <form action="" method="POST">
            <div>
                <label for="name">Name:</label>
                <input type="text" name="name" id="name" required>
            </div>
            <div>
                <label for="email">Email:</label>
                <input type="text" name="email" id="email" required>
            </div>
            <div>
                <button type="submit">Add User</button>
            </div>
            <?php if (isset($message)) { echo "<p>$message</p>"; } ?>
        </form>
        <ul class="nav-links">
            <?php include 'nav-links.php'; ?>
        </ul>
    </main>
</body>
</html>
Step 6: Display Users (read.php)
In read.php, display all users from the database.
<?php
require 'db_connection.php';

$query = $connection->query("SELECT * FROM users");
$users = $query->fetch_all(MYSQLI_ASSOC);
?>

<!DOCTYPE html>
<html lang="en">
<head>
    <meta charset="UTF-8">
    <meta http-equiv="X-UA-Compatible" content="IE=edge">
    <meta name="viewport" content="width=device-width, initial-scale=1.0">
    <title>View Users</title>
    <link rel="stylesheet" href="style.css">
</head>
<body>
    <main class="container">
        <h1>All Users</h1>
        <?php if (count($users) > 0): ?>
            <ul>
                <?php foreach ($users as $user): ?>
                    <li>
                        <?= $user['name'] ?> (<?= $user['email'] ?>)
                        <a href="update.php?id=<?= $user['id'] ?>">Edit</a>
                        <a href="delete.php?id=<?= $user['id'] ?>">Delete</a>
                    </li>
                <?php endforeach; ?>
            </ul>
        <?php else: ?>
            <p>No users found.</p>
        <?php endif; ?>
        <ul class="nav-links">
            <?php include 'nav-links.php'; ?>
        </ul>
    </main>
</body>
</html>
Step 7: Update a User (update.php)
In update.php, allow users to edit their details.
<?php
require 'db_connection.php';

if (!isset($_GET['id'])) {
    header("Location: read.php");
    exit;
}

$userID = $_GET['id'];

$query = $connection->prepare("SELECT * FROM users WHERE id = ?");
$query->bind_param('i', $userID);
$query->execute();
$user = $query->get_result()->fetch_assoc();

if ($_SERVER['REQUEST_METHOD'] === 'POST') {
    $name = $_POST['name'];
    $email = $_POST['email'];

    $updateQuery = $connection->prepare("UPDATE users SET name = ?, email = ? WHERE id = ?");
    $updateQuery->bind_param('ssi', $name, $email, $userID);
    $updateQuery->execute();

    header("Location: read.php");
    exit;
}
?>

<!DOCTYPE html>
<html lang="en">
<head>
    <meta charset="UTF-8">
    <meta http-equiv="X-UA-Compatible" content="IE=edge">
    <meta name="viewport" content="width=device-width, initial-scale=1.0">
    <title>Update User</title>
    <link rel="stylesheet" href="style.css">
</head>
<body>
    <main class="container">
        <h1>Update User</h1>
        <form action="" method="POST">
            <div>
                <label for="name">Name:</label>
                <input type="text" name="name" id="name" value="<?= $user['name'] ?>" required>
            </div>
            <div>
                <label for="email">Email:</label>
                <input type="text" name="email" id="email" value="<?= $user['email'] ?>" required>
            </div>
            <div>
                <button type="submit">Update User</button>
            </div>
        </form>
        <ul class="nav-links">
            <?php include 'nav-links.php'; ?>
        </ul>
    </main>
</body>
</html>
Step 8: Delete a User (delete.php)
In delete.php, delete a user from the database.
<?php
require 'db_connection.php';

if (isset($_GET['id'])) {
    $userID = $_GET['id'];
    $deleteQuery = $connection->prepare("DELETE FROM users WHERE id = ?");
    $deleteQuery->bind_param('i', $userID);
    $deleteQuery->execute();
}

header("Location: read.php");
exit;
Step 9: Styling (style.css)
Add basic styles for your CRUD application.
/* Basic styles here */

body {
  font-family: Arial, sans-serif;
  background-color: #f4f4f4;
  padding: 50px;
}

.container {
  max-width: 600px;
  margin: 0 auto;
  padding: 20px;
  background-color: white;
  border-radius: 8px;
  box-shadow: 0 4px 8px rgba(0, 0, 0, 0.1);
}

input,
button {
  width: 100%;
  padding: 10px;
  margin: 10px 0;
  border: 1px solid #ccc;
  border-radius: 4px;
}

button {
  background-color: #4caf50;
  color: white;
  cursor: pointer;
}

button:hover {
  background-color: #45a049;
}

a {
  color: #4caf50;
  text-decoration: none;
}

a:hover {
  text-decoration: underline;
}

.nav-links {
  display: flex;
  justify-content: space-between;
  list-style-type: none;
  padding: 0;
  margin: 10px 0;
}
Step 10: Test the Application
To test your CRUD application, visit the following URL after starting your local server:
http://localhost/php-crud-app/create.phpEnsure your MySQL server and database are running. You should be able to add, view, edit, and delete users.

Download the Source Code
You can find the complete source code for this CRUD app in different versions (MySQLi, MySQLi OOP, and PDO) here on GitHub.